What is the personal Instagram feed
Before going to the point and seeing, in practice, how to organize instagram feed, allow me a small note: in this tutorial, as you may have guessed from the introduction, I will tell you about the personal feed and not the Instagram home, which can also be called a "public feed".
All the content you post in your personal feed ends up in the public feed of those who follow your account, and in the guide I will explain how to organize the content they see by going to your Instagram account.
Having made this small (but necessary) premise, I would say that we can actually proceed by getting to the heart of the topic.
How to organize your Instagram feed
So let's see how to organize your Instagram feed inserting new contents within it, modifying those already present and archiving them and / or eliminating those that are not relevant to the image you want to give of your person (or your company).
Add new content
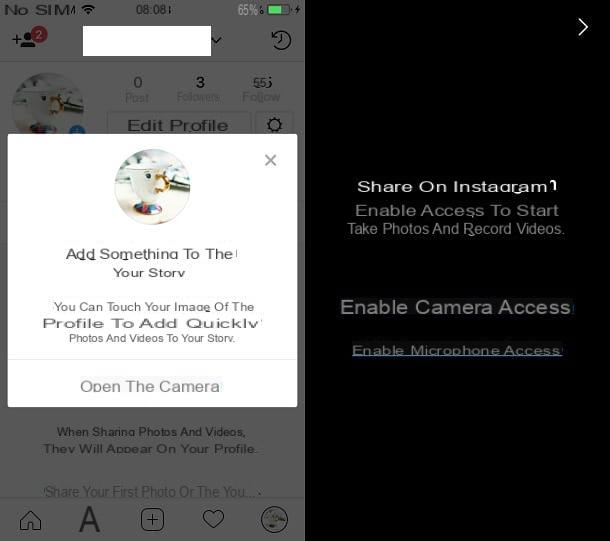
Add new content to the feed it is a very simple operation to complete and through which you can always keep your account "fresh" and updated. How do you add new ones? I'll explain it to you right away.
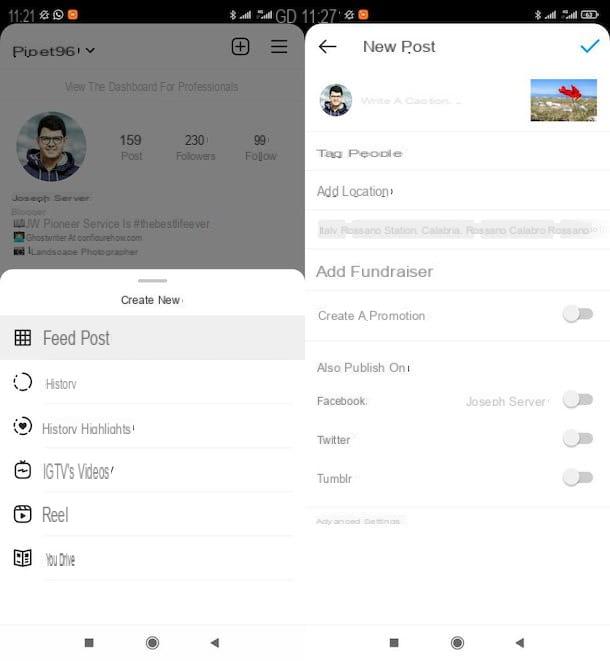
To begin with, access Instagram from the official app of the service for Android (also available on alternative stores) or iPhone, press the button capacitor positive (+) lead at the top right (if you don't see it, tap on the icon of cottage placed at the bottom left or on the thumbnail of your profile photo or onlittle man, bottom right) and select the item Feed post (on Android) or the voice Post (on iOS) in the opened menu.
Now, select the content you want to upload from Gallery (you can also select more than one, in case you want to publish a post in "carousel format", which can be done by pressing the two superimposed squares before selecting the content to publish). Alternatively, take one photo or register a video at the moment, pressing on one of the appropriate cards and creating the content using the shutter / record button (The cue ball) located in the center of the screen.
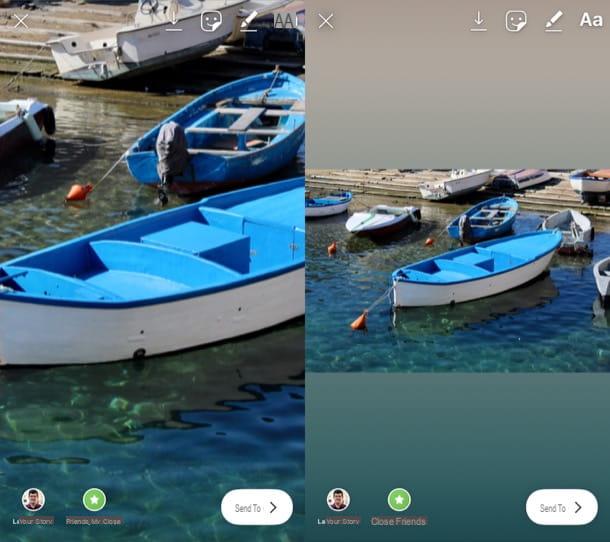
Once this is done, click on freccia rivolta verse destra you see in the upper right corner of the screen (on Android), or on the item NEXT, always at the top right (on iOS); optionally select a filter to apply to the content and, if you deem it necessary, edit the content by pressing on the tab Modification located at the bottom right, so as to act on the main parameters (eg. Brightness, Contrast, Saturation, Etc.).
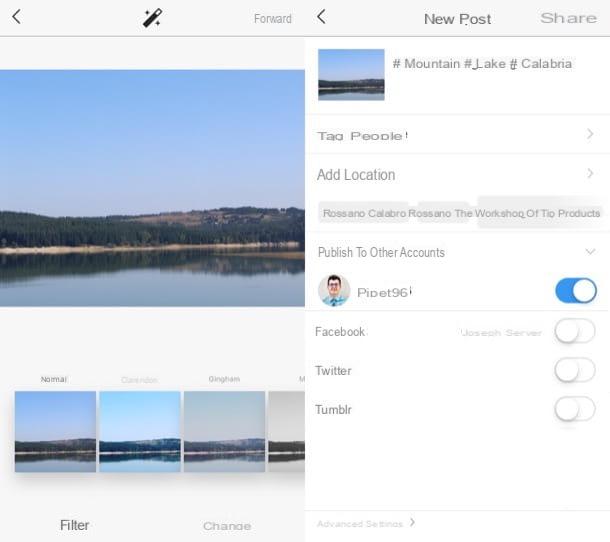
Subsequently, press the icon again freccia rivolta verse destra (on Android) or on the voice NEXT (on iOS), add a caption, an place and eventually tag people of your interest and publish the content by tapping on the symbol (✓) located at the top right (on Android) or on the item Share at the top right (on iOS). For more details on how to post on Instagram, take a look at my guide on the topic.
Modify existing content
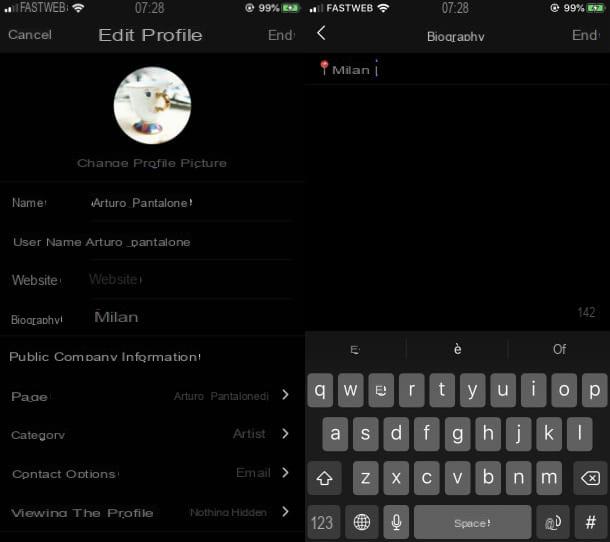
One thing you can do to improve your Instagram feed is to edit the content that is already there. Let me be clear, you will not be able to change who knows what of what has already been posted, if not the geotag, the caption and the addition / removal of tags, but this can be useful, especially if you have not paid much attention to these details so far.
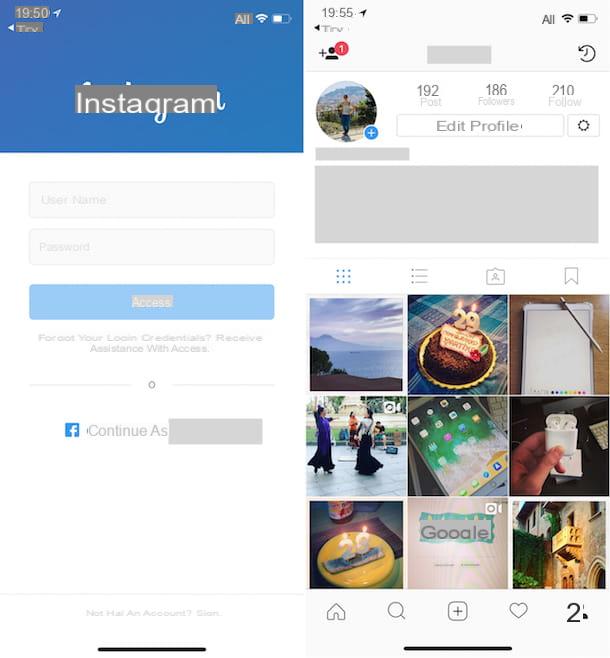
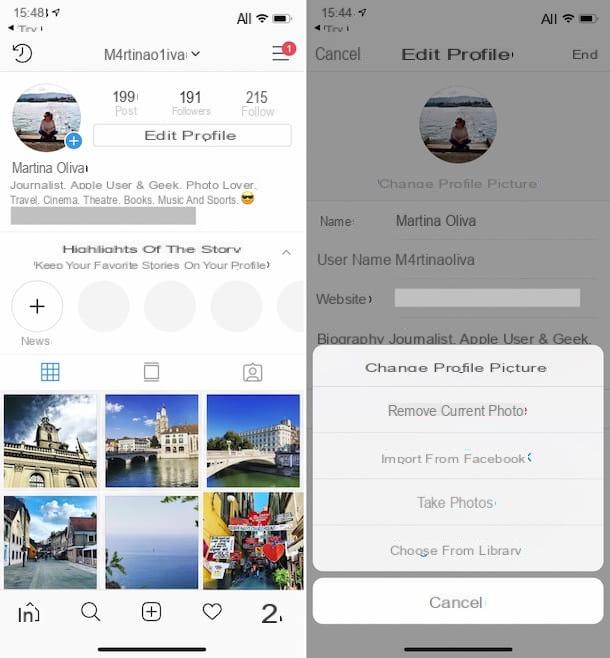
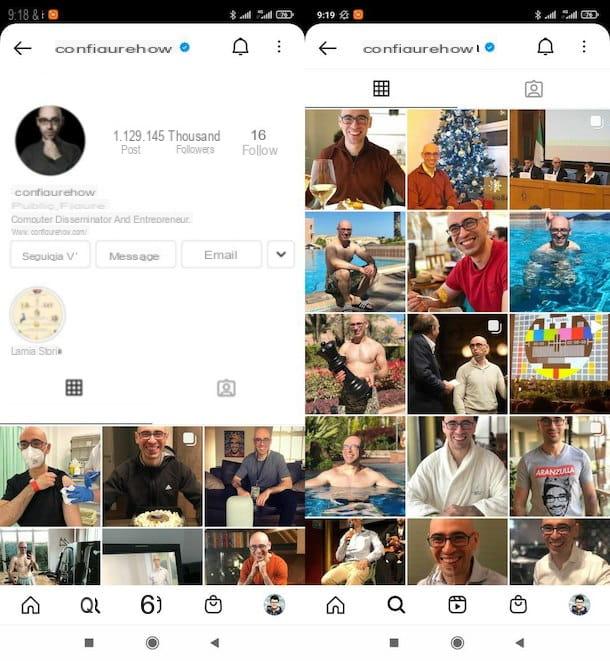
To edit a post in your feed, access Instagram from the official app of the service for Android or iOS, press on thumbnail of your profile photo or onlittle man, at the bottom right, scroll through the feed, locate the content to edit and press on it preview.
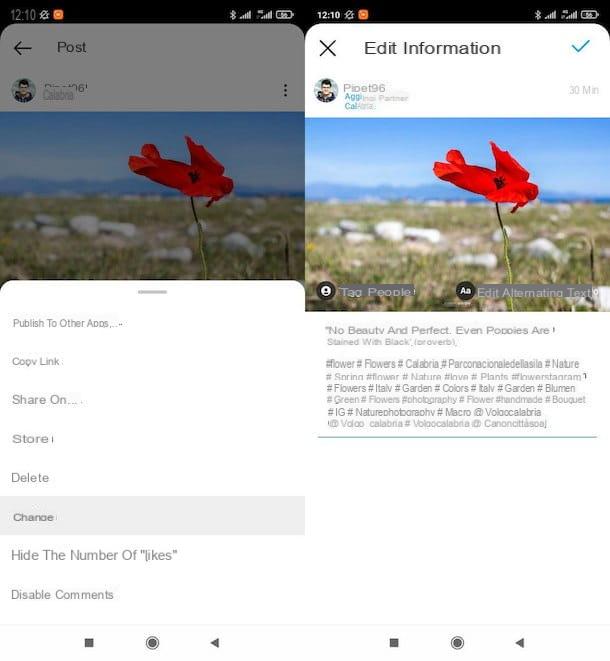
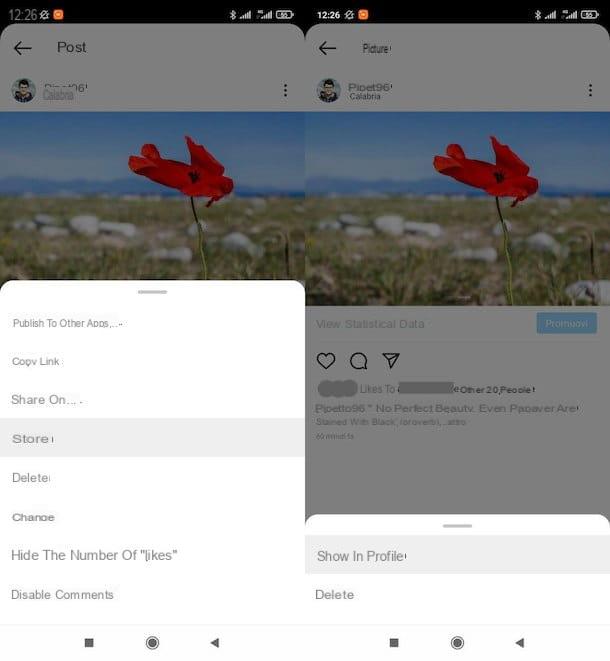
Once this is done, press on the symbol of three dots (top right of the post itself) and select the item Modification in the opened menu. At this point, edit the caption (if you see the wording Write a caption ... evidently you didn't really put it) or modify the place, pressing on the one currently set and selecting the correct one (if you had not entered it, you will see the wording Add Lugo in the upper left of the post).
As for adding or removing tags, click on the button Tag people or on the item [N] people (if you had already tagged some), tap in a point of the content and, after searching for the name of the person of your interest, select the nominative, to tag it. To remove a tag, instead, tap the one you want to delete and press on (X).
When you have made these changes, click on the symbol (✓) located at the top right (on Android) or on the item end placed at the top right (on iOS), so as to save the changes made.
Archive and delete content
Giving a good "clean up" to your feed, by archiving or even deleting the content that you no longer feel in line with your profile, is something I recommend you do from time to time. This operation, in fact, will allow you to remove all those posts that, for one reason or another, you deem no longer suitable for your account and to always keep the feed in order.
Before explaining how archive and delete content on Instagram, I want to tell you that archiving is a reversible action, as you can restore the archived contents whenever you want; the deletion of the posts, on the other hand, is definitive (there are 30 days in which you can retrace your steps, after which the deletion of the contents becomes definitive).
To archive a post in your feed, access Instagram from the official app of the service for Android or iOS, tap on thumbnail of your profile photo or onlittle man (bottom right), scroll through the feed, locate the content to remove and press on it preview. Finally, in the opened menu, tap on the item Archive to archive the content or select the item Delete (twice), so as to cancel it.
In case of second thoughts, to restore an archived post, tap the button (≡) (top right of the main screen of your profile), select the items Archive> Post Archive, touch thepreview of the content to be shown again in the profile, presses the icon of three dots (top right of the same) and select the item Show in profile.
To restore content deleted from less than 30 daysinstead, after pressing the button (≡) select items Settings> Accounts> Recently Deleted, touch the content to restore, press on the symbol of three dots (top right of the same) and select the wording Restore (twice in a row). Then press the button NEXT, type il security code that was sent to you via e-mail or SMS, click on the button Confirmation And that's it.
How to have an effective feed on Instagram

Allow me, now, to give you some "tips" on how to have an effective feed on Instagram. See which of these ideas seems most congenial to you and put them into practice so as to have a more attractive feed for potential new followers (as well as for those who already follow you).
- Find a theme for your profile - in this way you will have clearer ideas on what to post, avoiding creating content that has no bearing on the purpose for which you created your account.
- Choose your profile colors - following this suggestion can help you get a homogeneous feed from the chromatic point of view and, who will see it, will be able to recognize the colors you have chosen to distinguish your account.
- Edit content to give your personal touch - when you are going to apply a filter or modify a content using some editing app, try to always make the same changes. In this way, over time, you will be able to create your own style that will give greater coherence to the profile.
- Use app to organize feed - if you want to preview the appearance of your feed before publishing certain content, you can use some useful solutions, such as those mentioned in the next chapter.
App to organize Instagram feeds
Let's see, therefore, some app to organize Instagram feeds. These are solutions that, as I told you a few lines above, allow you to preview the appearance of the feed in case certain contents are published. Let me tell you more about it.
Preview: Planner for Instagram
Preview: Planner for Instagram is one of the best solutions to organize the Instagram feed, as it allows you to choose the order in which to view and schedule posts in a simple and fast way. Basically it is free, but access to all its functions requires a subscription starting from 7,49 euros / month. The app is available for Android (also on alternative stores, for devices without Play Store) and for iOS / iPadOS.
After installing and launching Preview: Planner for Instagram, select the option Free, award your bottone Continue for Free e fai tap sul pulsating Continue to accept the privacy policy and terms of use of the app. Then, press the button Login with Instagram and log in to Instagram using your account credentials.
Now, to upload a new content, click on the button capacitor positive (+) lead (top right), select the option Library and choose the content to publish. After selecting them, change the order of the posts loaded in the application, so as to set the final appearance that your profile must have once they are published: just hold down on one of them and drag it where you want it to appear ( obviously this is only feasible with the contents uploaded to the app and not those uploaded by Instagram, which are characterized by the logo of the photographic social network).
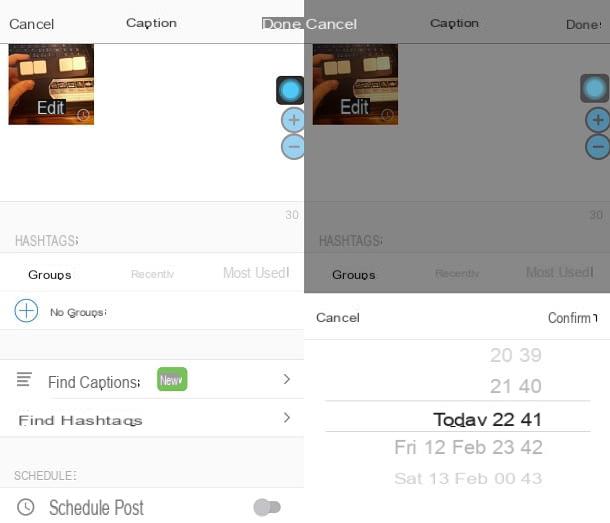
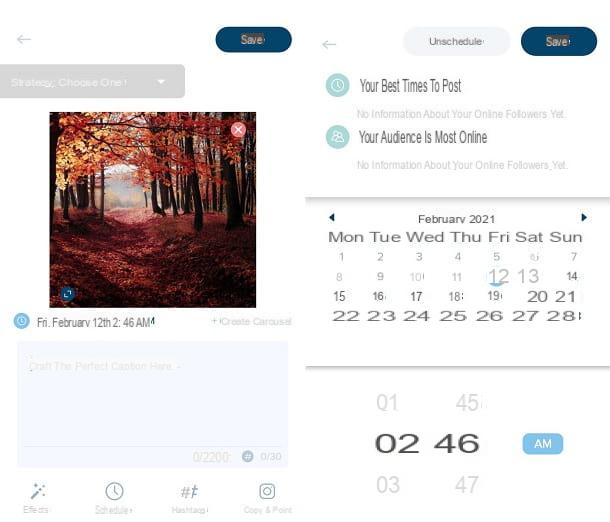
Finally, click on the symbol of comic, activate the option Schedule Post, indicates day e clockwise in which to publish the contents and, finally, presses on the items Confirm e Done.
Other apps to organize Instagram feeds
There are also other apps to organize Instagram feeds that you can take into consideration. I'll list them below: see if you find any useful in your case.
- Plann + (Android / iOS / iPadOS) - is a useful app for organizing your profile, which is characterized by a simple and intuitive interface, which includes all the necessary features to manage your account in all respects. Basically it is free, but access to all functions requires a subscription starting at € 4,49 / month.
- Planoly (Android / iOS / iPadOS) - this solution offers various functions for managing your Instagram account and, as in the case of those mentioned so far, it is semi-free: to take advantage of all its functions, in fact, you need to subscribe from 9,49 , XNUMX euros / month.
- Later (Android / iOS / iPadOS) - is another free app belonging to the category in question through which you can manage your account, receive reminders to send content online, schedule them, etc.
For more information on using these and other apps to organize Instagram, take a look at the guide I linked to you. I hope it will be useful to you.
How to organize the Instagram feed