How to promote a photo on Instagram without paying
Let's see, first of all, how to promote a photo on instagram without paying making adequate use of some tools on the photographic social network, such as hashtag and geolocation.
Using hashtags correctly
Using hashtags correctly it's definitely a great way to advertise a photo on Instagram for free. If you don't know, the hashtag are words or phrases (usually written in English) preceded by the symbol # (hash), which serve to "label" the published content, in order to allow users to identify them more easily.
As I have already explained to you extensively in this other in-depth study, using hashtags in the right way allows you to increase the chances of having your photos displayed in search results and thus reach a potentially very large audience. At the time of this writing, Instagram allows you to post up to 30 hashtags for each post: you are not obliged to use them all, the important thing is to try to use the most popular and relevant to the content of the posted photo.
If you want to more easily identify the hashtags to use to promote the photos you share on Instagram, you can take advantage of online tools suitable for the purpose, such as Top Hashtag and All Hashtag, or take advantage of apps, such as HashTags for Instagram for Android and Top Tags for iOS.
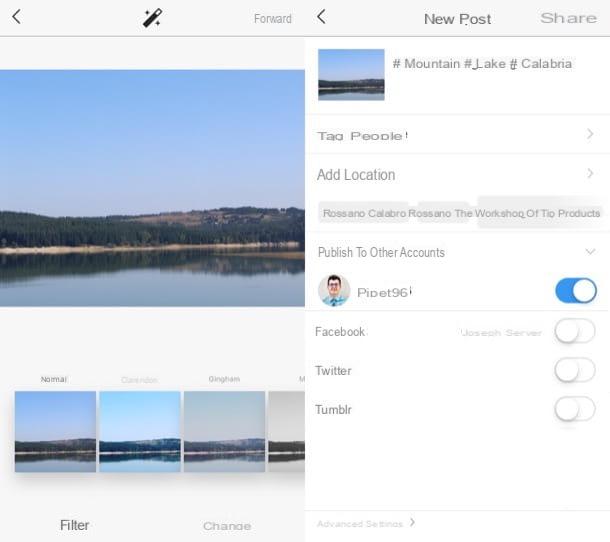
To insert hashtags in a post in which there is a photo, do as follows: after logging in to Instagram through the official app of the social network for Android or iOS, tap the button capacitor positive (+) lead located at the bottom and, after selecting the photo of your interest, tap on the item NEXT placed at the top right twice in a row.
Then enter the "labels" in the text field Write a caption ...: press, therefore, on the symbol # on the keyboard and type the password or the phrase you are going to use to index the shot, or paste the hashtags you previously copied from the aforementioned services and apps. When you are ready to do it, then, publish the photo, by tapping on the items OK e Share (in alto to destra).
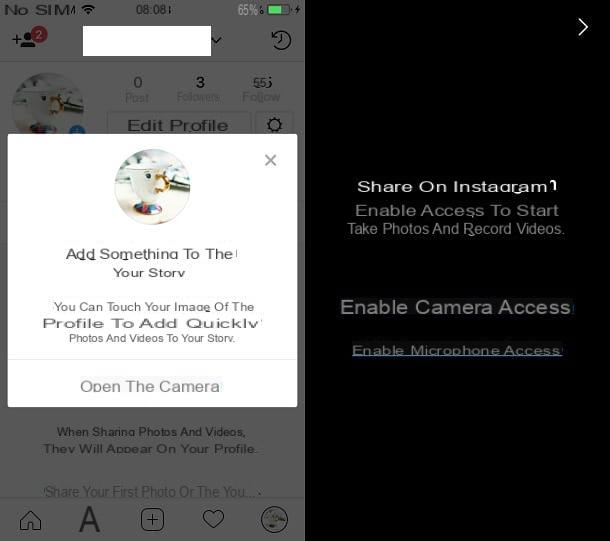
To insert hashtags in a historyinstead, after tapping the blue button capacitor positive (+) lead located on your profile photo and having selected (or created) the content of your interest, press the icon smiling sticker located at the top right and select the sticker #Hashtag.
After writing the word or phrase relating to the label you want to use in the appropriate text field that appears on the screen, tap on the item end, top right, and that's it. When you are ready to do so, publish the content by tapping on the item The tua storia, lower left.
If you are interested in having some more information on how hashtags work on Instagram and how to create hashtags on Instagram, read the insights I linked to you because they will certainly help you.
Geolocate the photo
Geolocate the photo that you intend to advertise is another trick you can take to make it visible to a greater number of people without spending money. In fact, many users are used to search for photos based on the place where they were taken.
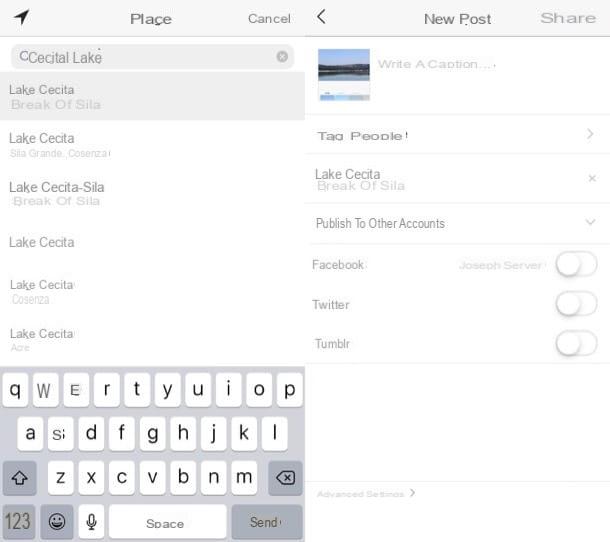
How can you geolocate a photo on Instagram? I'll explain it to you right away. As for a photo to be posted in a post, after logging in to Instagram through the official app of the social network for Android or iOS, presses the button capacitor positive (+) lead located at the bottom and, after selecting the shot of your interest, tap on the item NEXT (located at the top right) twice in a row.
Next, press on the voice add location and, after searching and selecting the place of your interest from the appropriate menu, Share the photo by pressing on the appropriate item. Please note that, if you have enabled the localization on your device, you will be suggested the geotag to use.
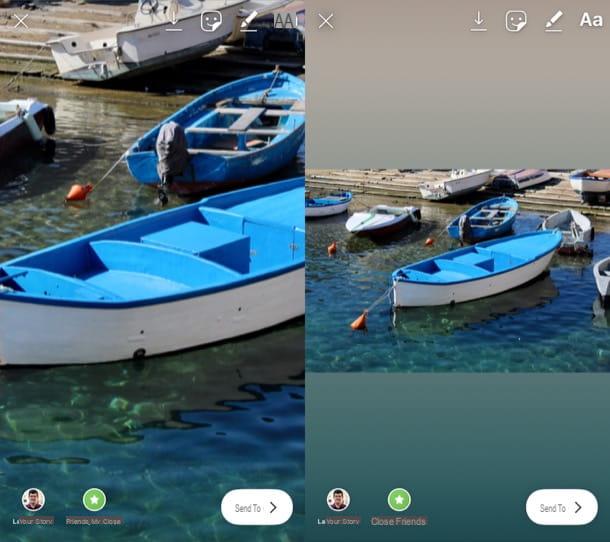
To geolocate a photo in one historyinstead, after tapping the blue button capacitor positive (+) lead located on your profile photo and having selected (or created) the content of your interest, press the icon smiling sticker located at the top right.
Then select the sticker Location, choose one of the suggested places (or look for one yourself) and, when you are ready to do so, publish the photo by tapping on the item Your Story, located at the bottom left. Easier than that?
If you need further information on how to geolocate photos on Instagram, I suggest you read the guide I dedicated to the topic.
Other useful tips for promoting a photo on Instagram

There are other useful tips for promoting a photo on Instagram for free: these are practical measures that will certainly contribute to increasing the popularity of your shots on the most famous photographic social network in the world.
- Take quality photos - if a photo is of quality, in a certain sense, it will promote itself, as it will receive more likes and comments and, consequently, could be shown to more people. If you want to learn how to take beautiful photos for Instagram, I suggest you read the guide that I linked to you, which contains many useful tips for taking original and fun photos.
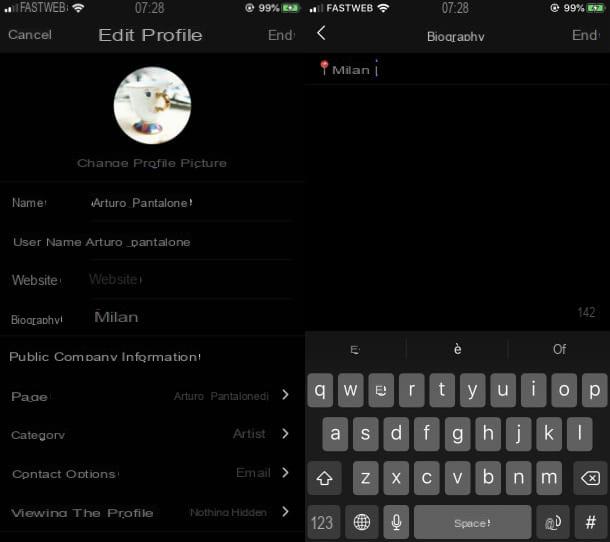
- Sign your photos - by doing so, you will prevent someone from "stealing" your shots. Also, if someone decides to put one of your photos back on their account, they will advertise you, since your shot will be signed. If you don't know how to sign the photos, go ahead and read the in-depth article I linked to you.
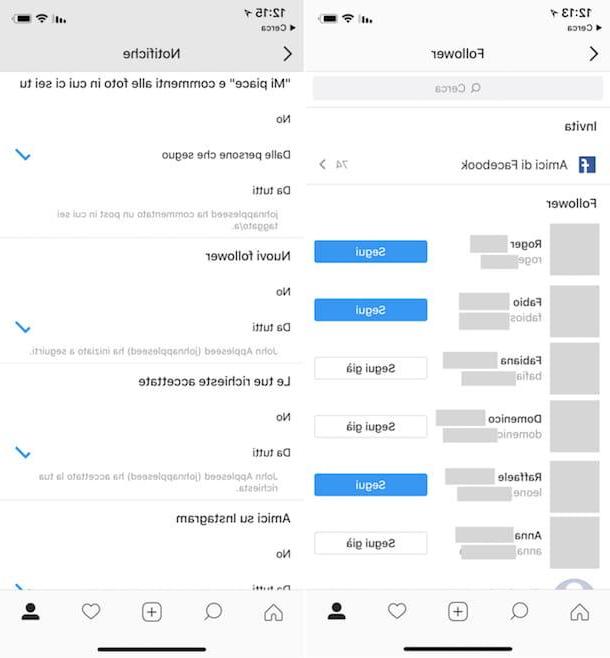
- Make the most of stories - since stories are the most popular type of content on the social photo network, use them to your advantage to promote your shots. This also applies when you publish a photo in the form of a post: make the community participate with the "New Post" function and you will see that the shot you have published will gain more popularity.
How to advertise a photo on Instagram
The easiest way to advertise a photo on Instagram is to carry out paid sponsorships. By exploiting the latter, it is in fact possible to obtain good visibility with some ease. Let me tell you how to proceed.
Switch to a business account

To create paid sponsorships on Instagram, you need a professional account. If you haven't already, then, you have to switch to a business account.
Instagram business accounts differ from personal ones for a whole series of tools designed for creators and companies, some of which are useful for monitoring statistical data and, of course, launching advertising campaigns.
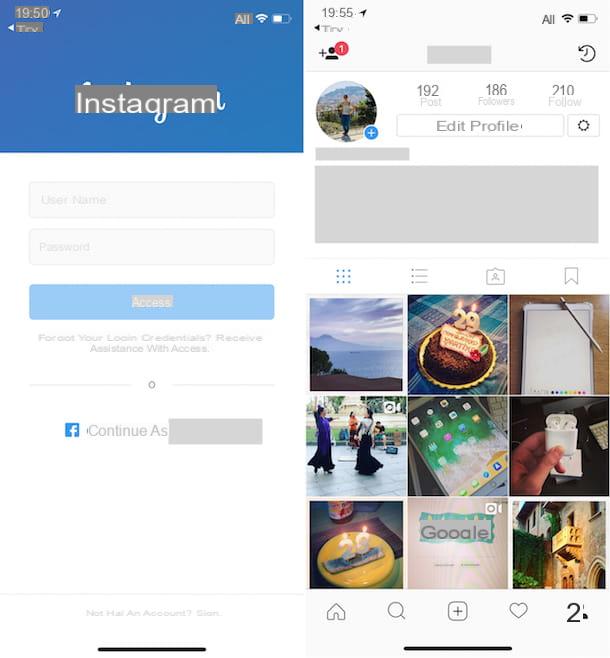
First, start the Instagram app on your Android or iOS device, log in to your account (if you haven't already), press the button (≡) located at the top right and tap on the item Settings from the side menu.
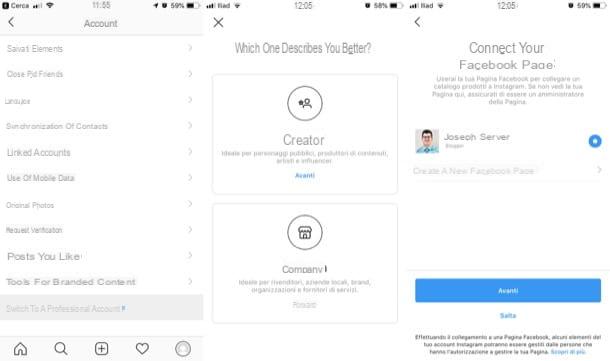
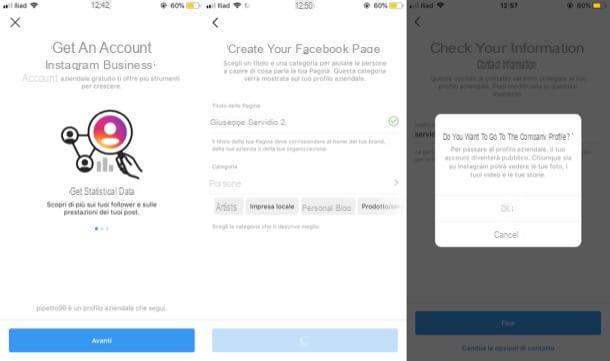
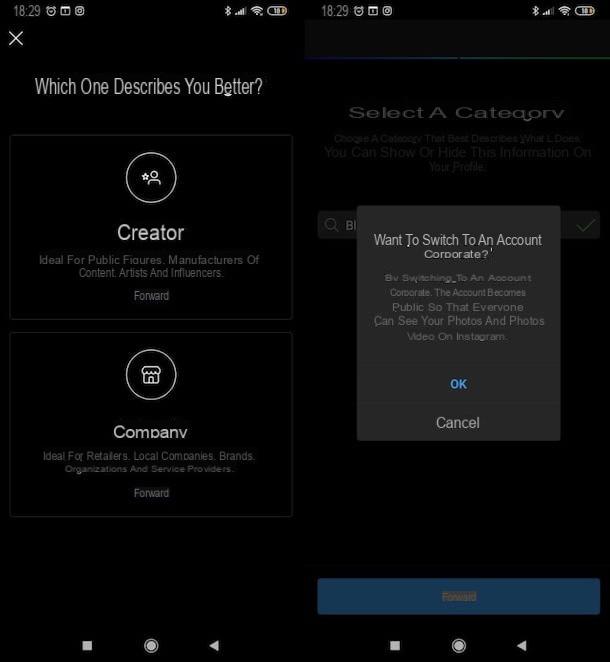
Then select the items Account> Switch to a professional account in the screen that opens, select the type of professional account you want to create (eg. Creator o Company) and follow the instructions that appear on the screen to complete the procedure.
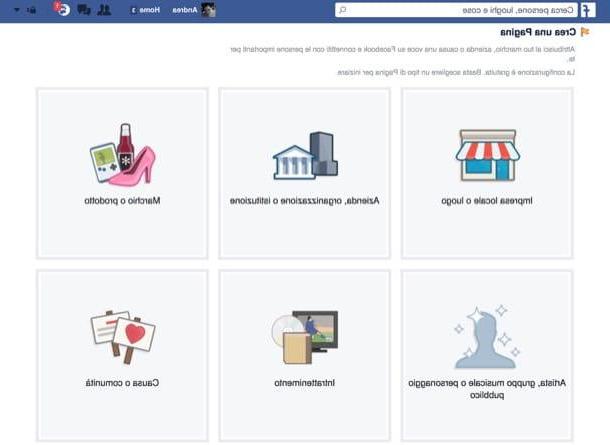
Pigia, quindi, sul pulsating NEXT o Continue, select one of the categories of professions among those available (only if you have chosen to create an account Creator), select one Facebook page . to connect to your account (if you don't have one, you can create it at the moment by tapping on the item Create a new Facebook Page and following the instructions on the screen to complete the procedure), check your contact information e pigia sui pulsnti NEXT, OK e end, to complete the operation.
If you need further information on how to create a business account on Instagram, read the guide I linked to you.
Sponsor a photo
After switching to a professional account, you can finally sponsor a photo on Instagram using the "Highlight" function, which is available for both posts and stories - let me tell you how to best use it.
Regarding the sponsorship of a photo to be published in the form of post, log in to your Instagram account via the official social network app for Android and iOS, tap the button capacitor positive (+) lead located at the bottom and, after selecting the content of your interest, presses on the items NEXT e Share.
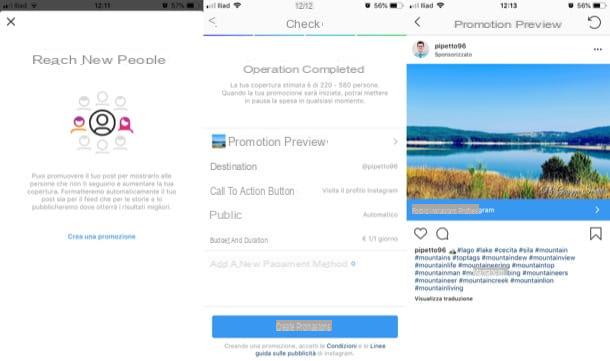
After publishing the photo in question, press the icon of thelittle man located at the bottom right, tap on thepreview of the content you intend to sponsor and click on the button Highlight which appears at the bottom right.
Then tap on the item Create a promotion, specify the destinazione you want to refer people to (eg. Your Profile, Your direct messages, etc.) and follow the instructions you see on the screen to define the public you want to contact, the budget that you are willing to spend, the duration of the campaign and the payment method with which to finance it. When you're ready to do it, tap the blue button Create promotion And that's it.
If you wish, you can also sponsor a photo included in one for a fee history: after creating the story, you must therefore open it, tap the button Other… located in the lower right corner of the screen, select the item Highlight from the menu that opens and follow the instructions that appear on the screen, in order to select the destinazione, public, budget duration of the campaign and the payment method with whom you intend to pay it. Again, when you are ready to do it, press the button Create promotion, to start the sponsorship.
If you need further information on how to sponsor on Instagram and / or on how to sponsor Stories on Instagram, reading the articles I have just linked to you will be of great help.
How to promote a photo on Instagram