Search
Visited
Popular
Recent
Discussed
Valued
Shared
The best guides to have an ideal Instagram feed instagramleague ®.
How to find out who watches anonymous stories on Instagram
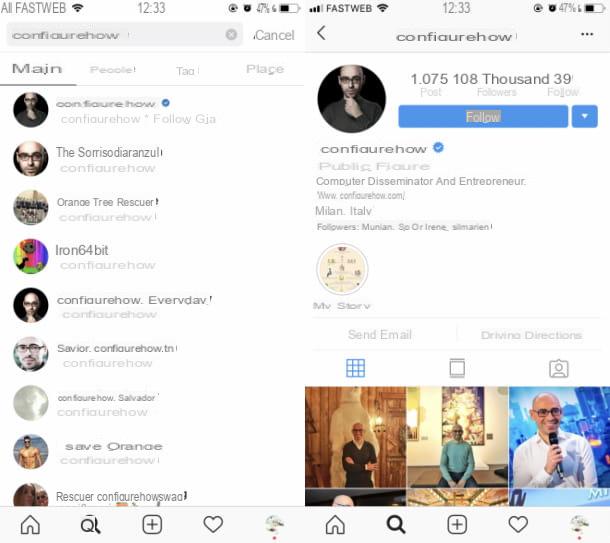
Best Instagram profiles
How to see live streaming on Instagram
How to report an Instagram profile
Previous
Following
How to zoom photos on Instagram
How to see views on Instagram
How to put personal blog on Instagram
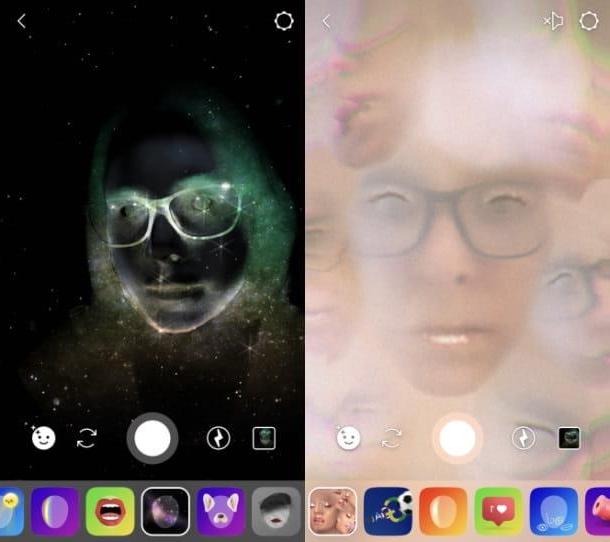
How to put face filters on Instagram
The most popular
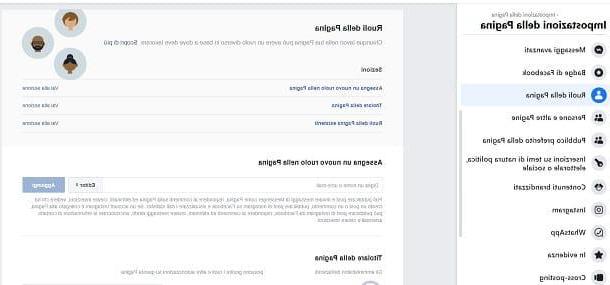
How to share an Instagram account
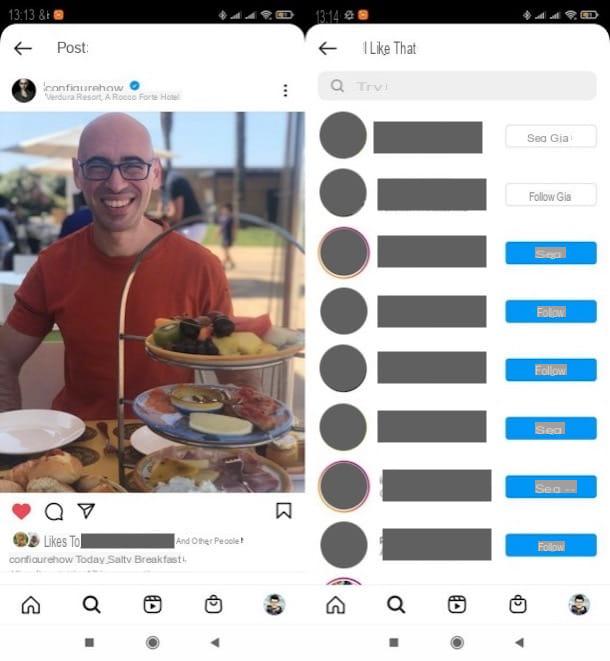
How to see likes on Instagram
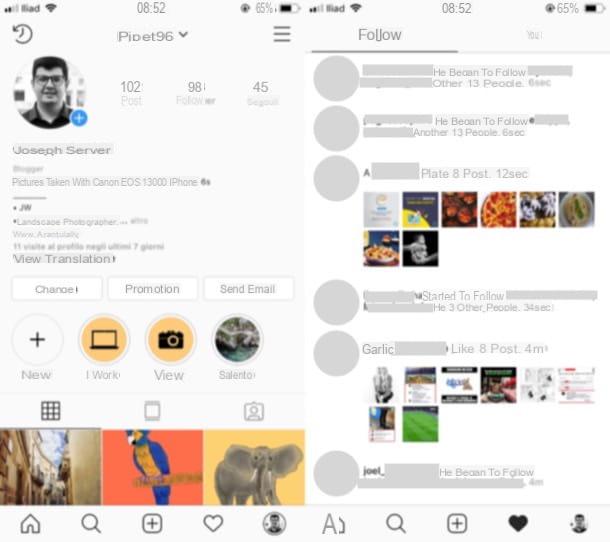
How to see Instagram activity
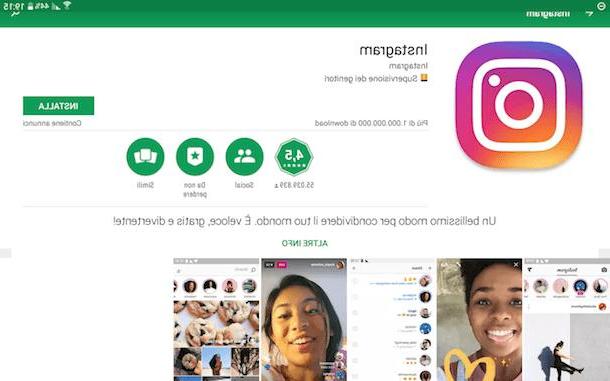
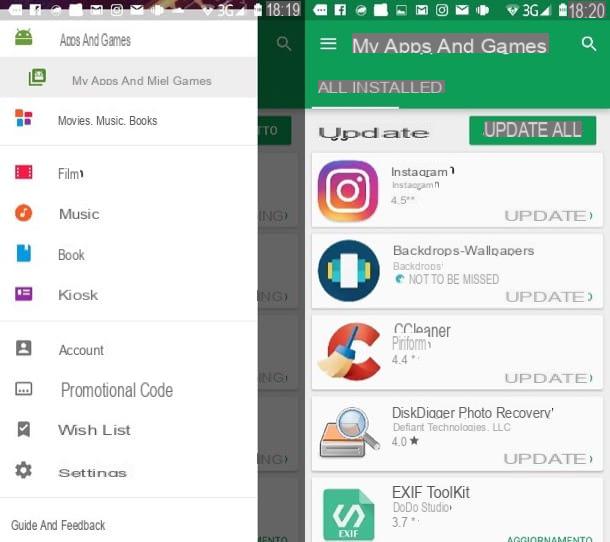
How to install Instagram
How to loop a video on Instagram
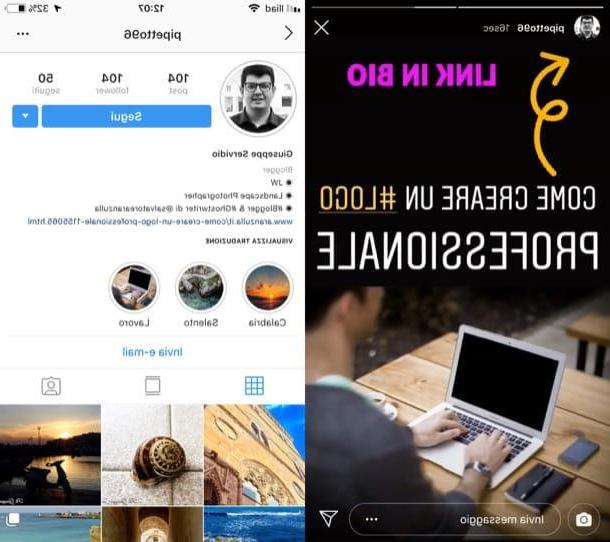
How to see links in bio on Instagram
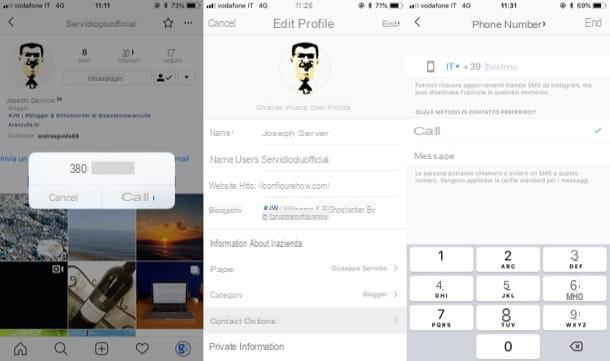
How to remove the phone number from Instagram
How to see video views on Instagram
How to put Instagram song lyrics
How to recover archived Instagram photos
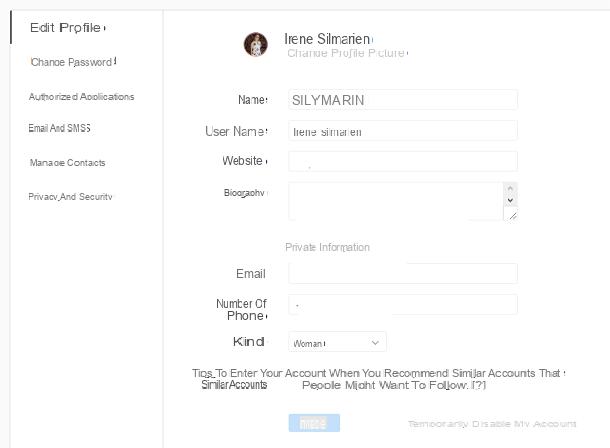
How to change your name on Instagram
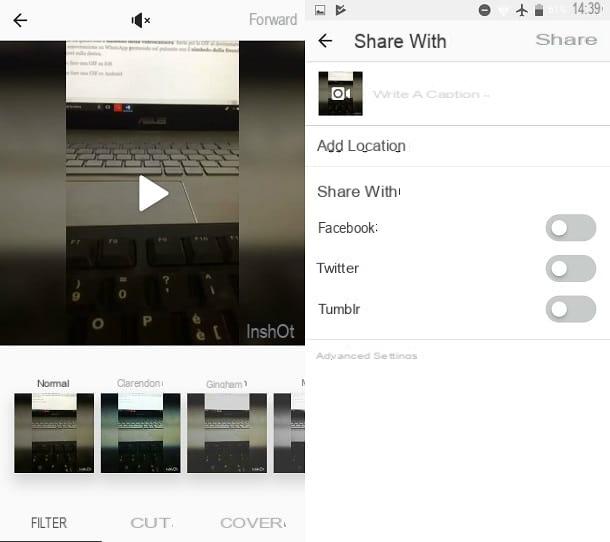
How to upload videos to Instagram
How to put a song dedicated to me on Instagram
Trends
Problems with Instagram
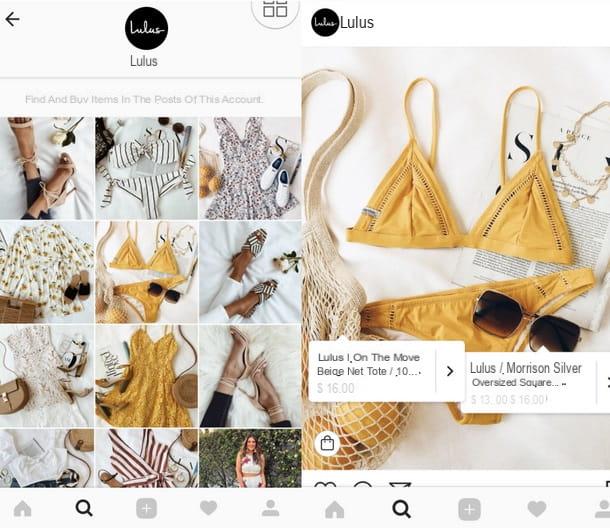
How to put prices on Instagram
How to see groups on Instagram
How to go viral on Instagram
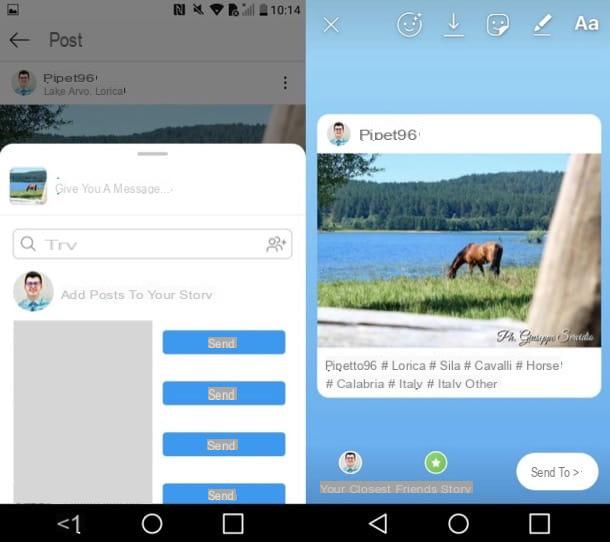
How to put a post in Instagram stories
How to do more Stories on Instagram
How to get answered on Instagram
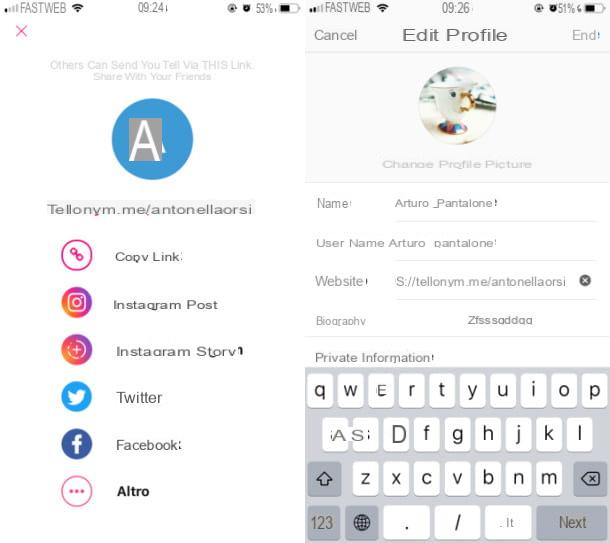
How to put Tellonym on Instagram
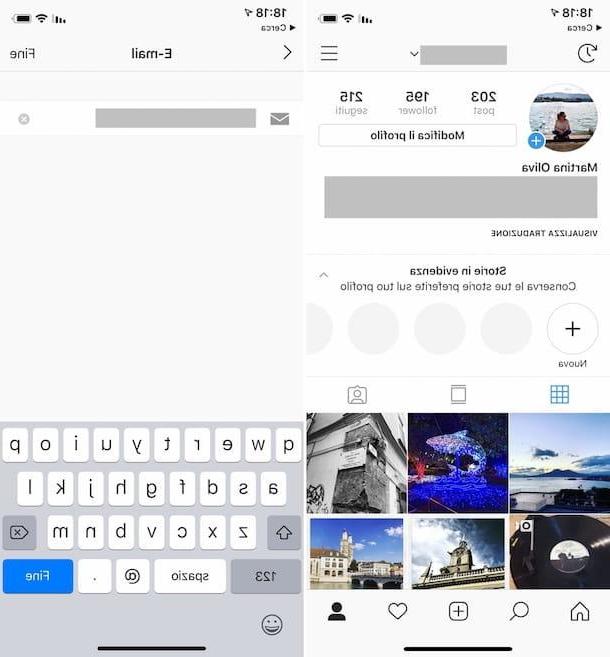
How to change Instagram emails
How to look good in Instagram photos


 Search
Search
Search